A HOT Transformation!
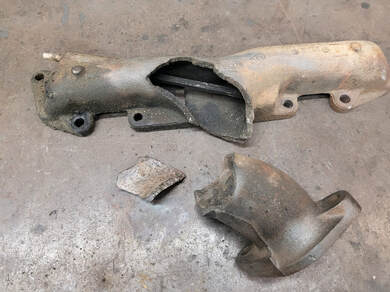
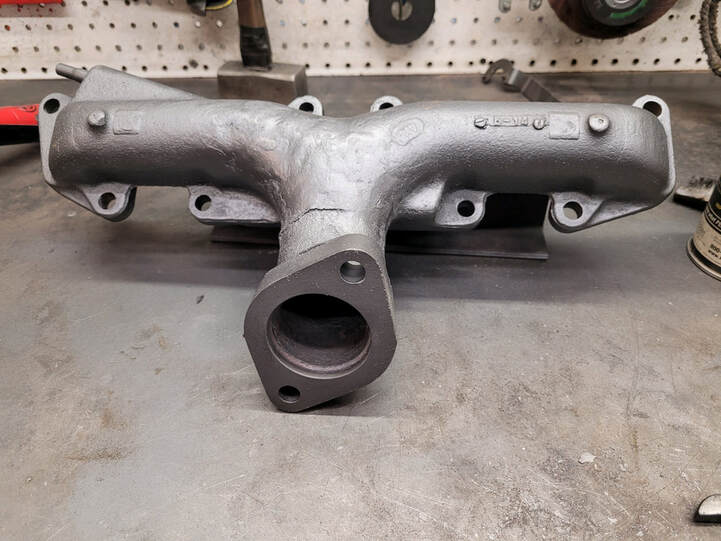
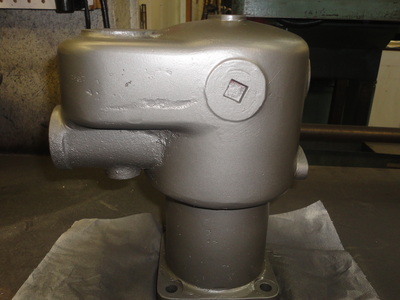
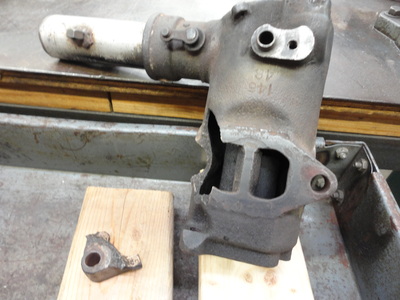
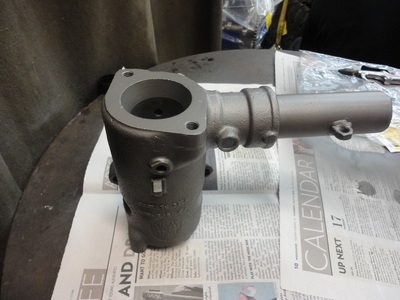
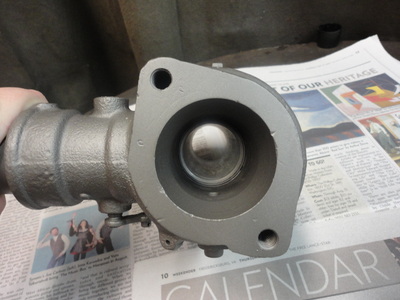
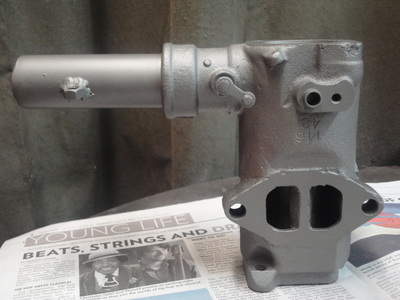
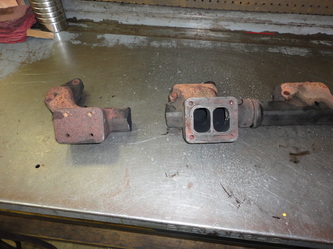
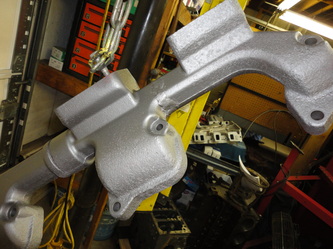
How did this severely broken and dirty exhaust manifold transform into this revitalized and exquisite piece of automotive cast iron? Keep reading to find out more about our process.
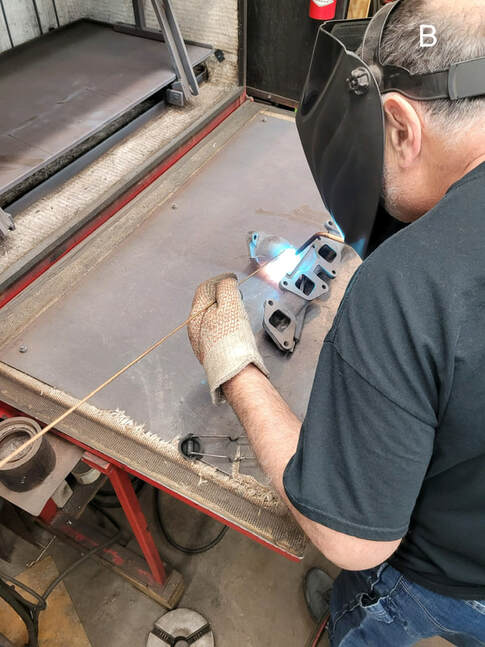
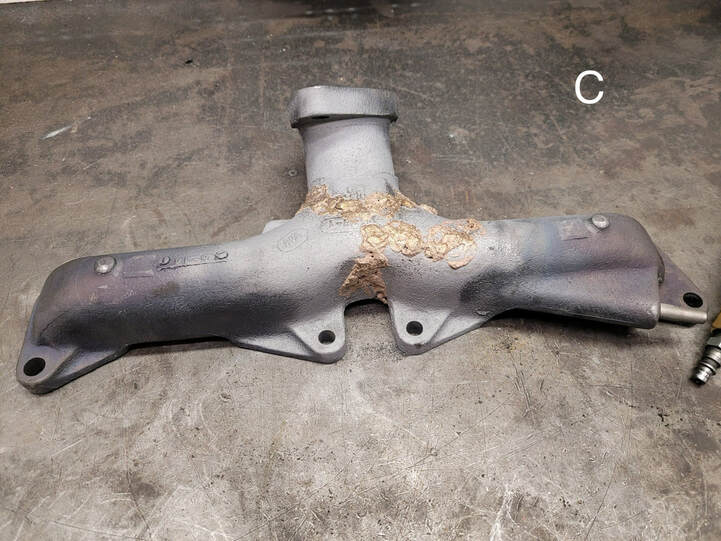
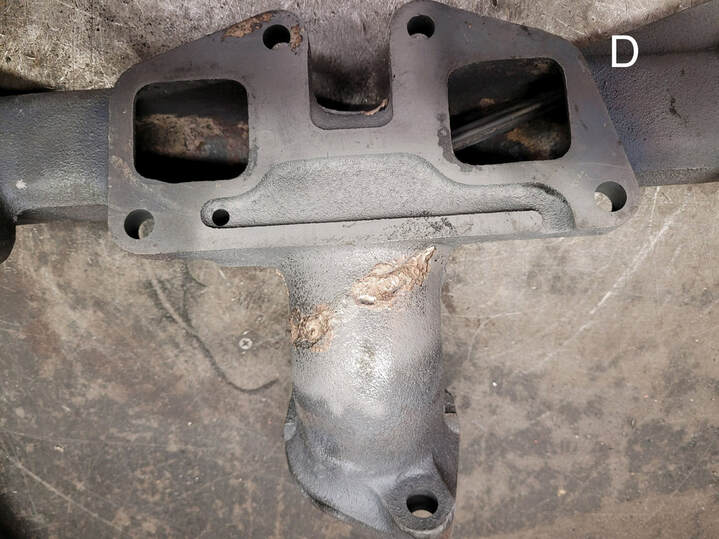
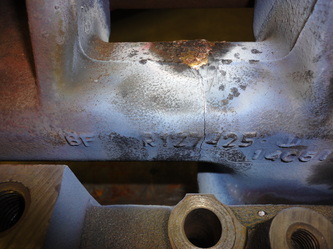
A 1955 Chrysler exhaust manifold was shipped to us from Arizona for repair. It was broken in three places and because of its age we needed to assess the best technique for welding such a delicate piece.
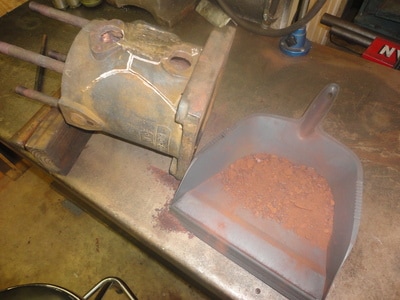
When cast iron welding an antique exhaust manifold you must consider the amount of dirt and hydrocarbon that has been sucked into the castings. This can make working on it difficult because the dirt comes out as you are welding. With something this old it is impossible to get out all the dirt because it is actually inside the casting. It is imperative to clean the cast iron the best you can before you start the repair. Bead blasting is an excellent way to thoroughly clean the casting exterior.
When cast iron welding an antique exhaust manifold you must consider the amount of dirt and hydrocarbon that has been sucked into the castings. This can make working on it difficult because the dirt comes out as you are welding. With something this old it is impossible to get out all the dirt because it is actually inside the casting. It is imperative to clean the cast iron the best you can before you start the repair. Bead blasting is an excellent way to thoroughly clean the casting exterior.
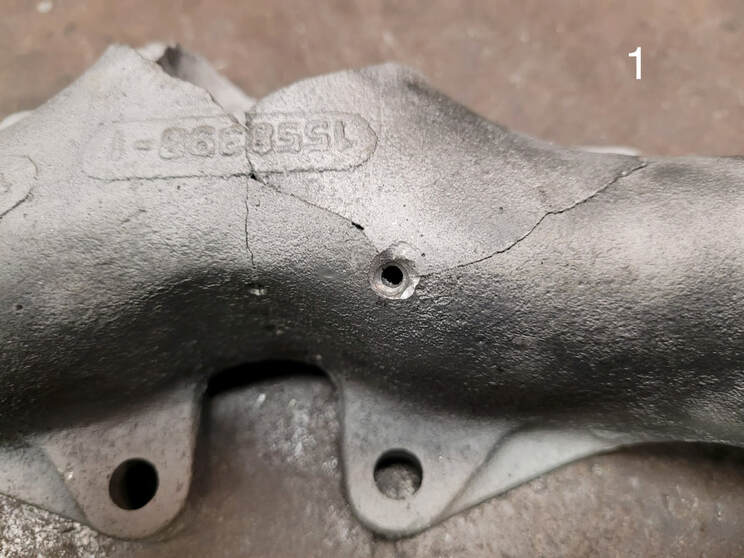
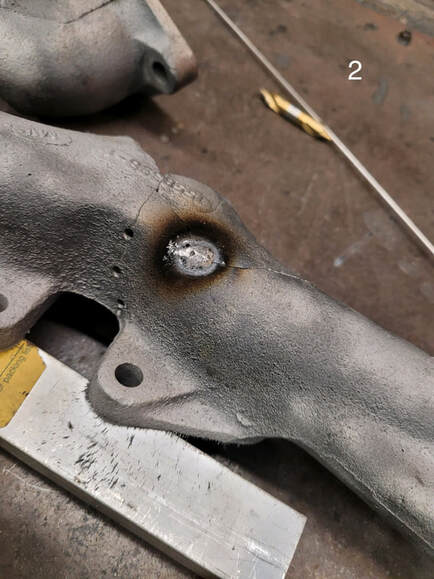
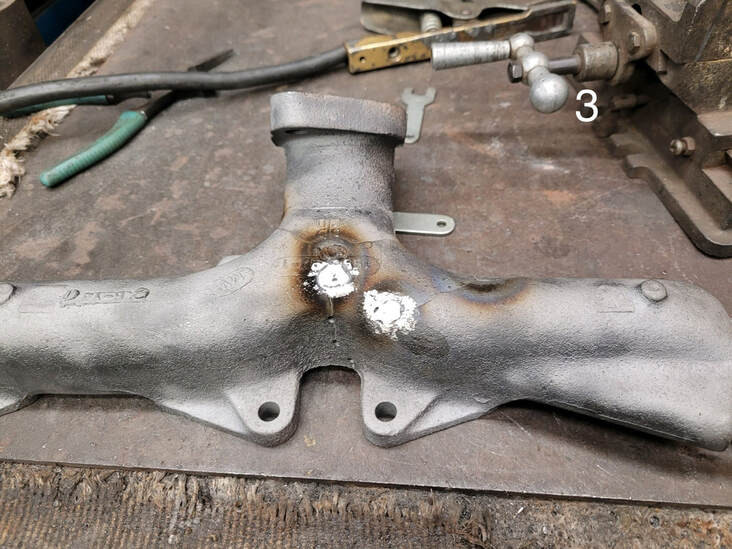
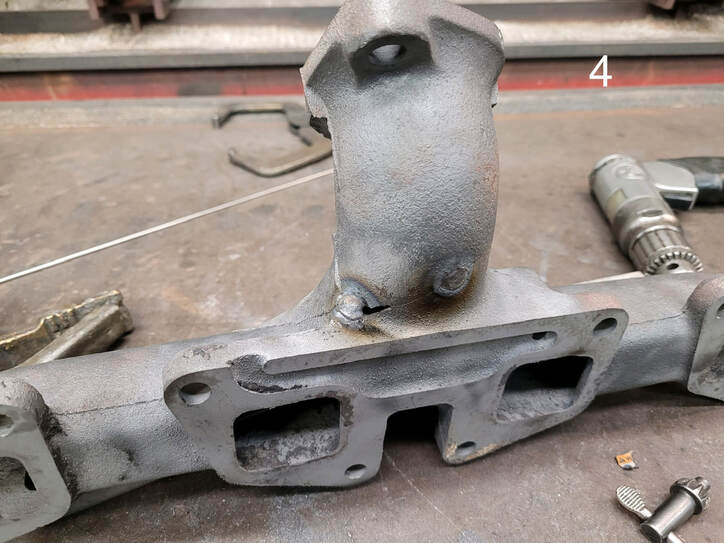
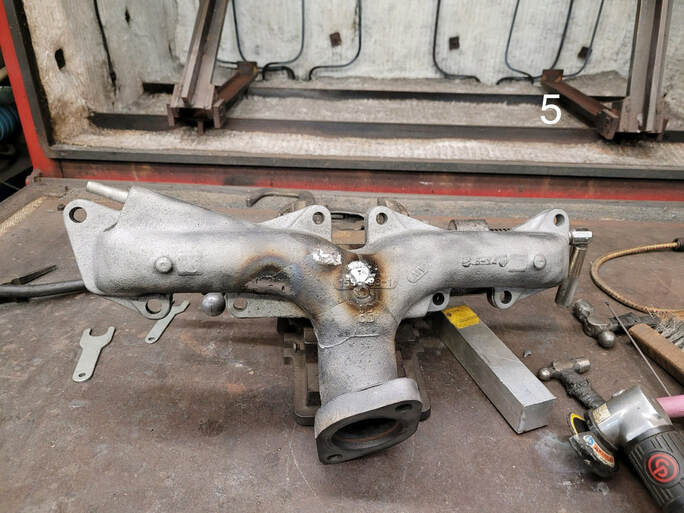
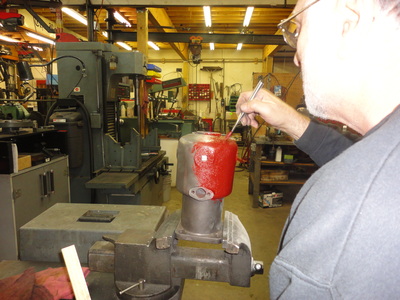
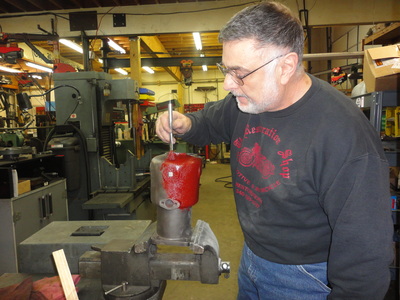
The first step was to tack weld the parts in place (pictures 1-5)
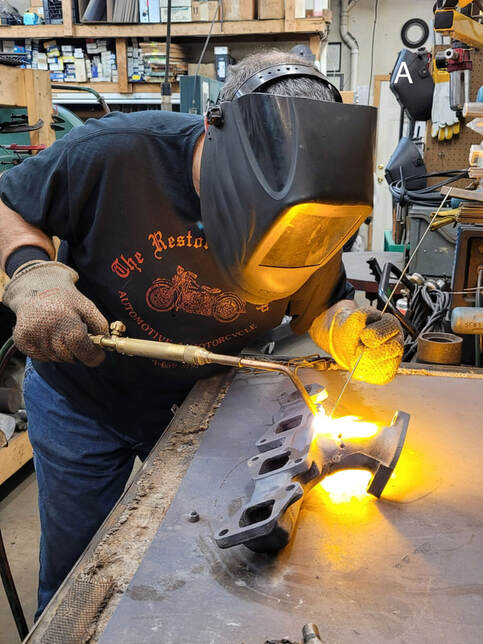
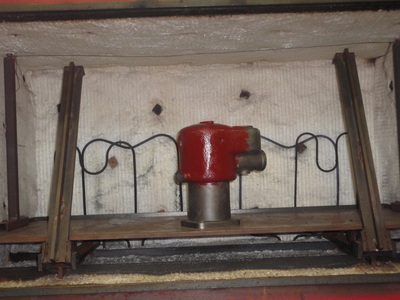
We pre heat the casting in our oven and the pre heat temperature is dependent on what welding method you will be using. We chose to Braze Weld because the preheat temperature is not as great as using a cast iron rod and would work best on such an old piece.
Brazing after a pre heat
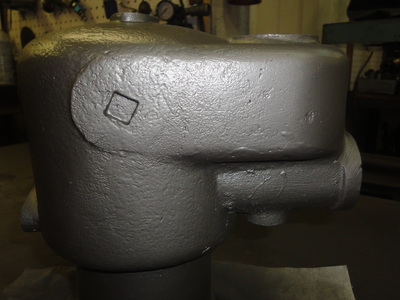
Once everything is welded that’s when the cosmetic touch ups take place. We aim to make the weld areas look as nice, clean and fresh as if they were new. We grind the welds and surface the exhaust manifold, so the fit will be correct.
Finished product
One of the hardest and most time consuming repairs to date!
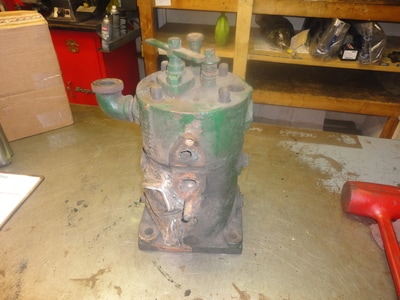
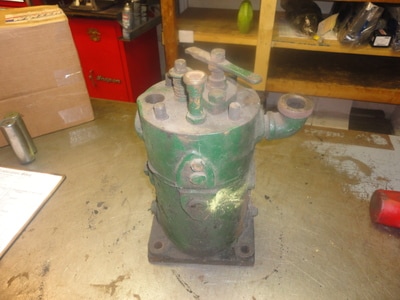
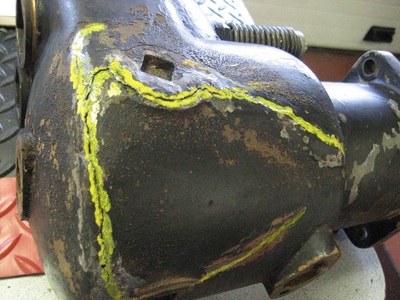
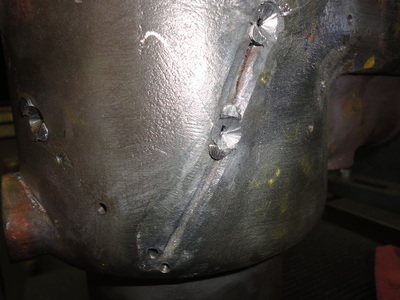
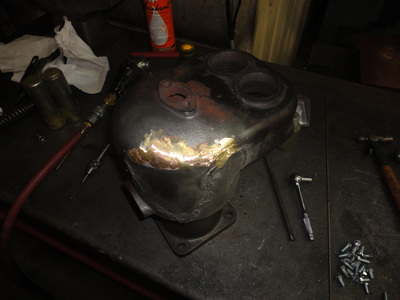
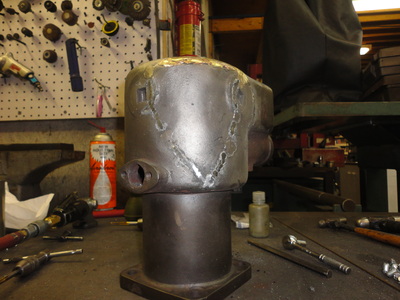
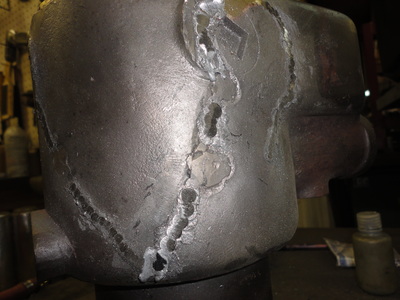
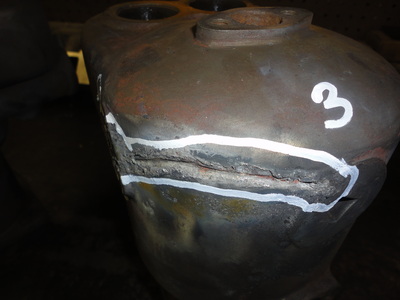
This casting had a slight crack in it when it was brought to a "welder" to be repaired.
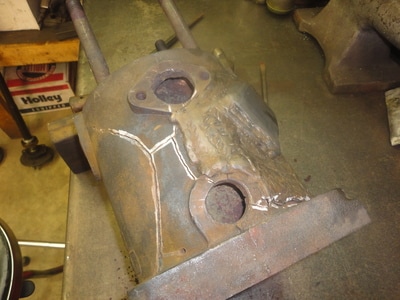
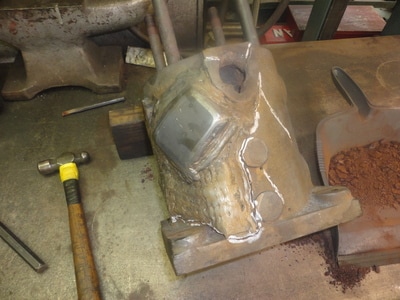
He basically took a stick welder and DESTROYED the casting.
He basically took a stick welder and DESTROYED the casting.
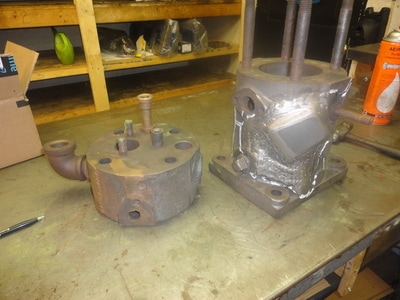
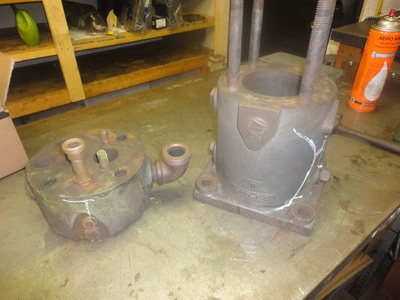
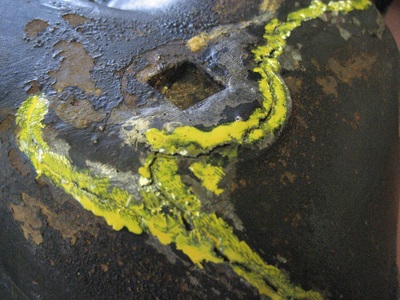
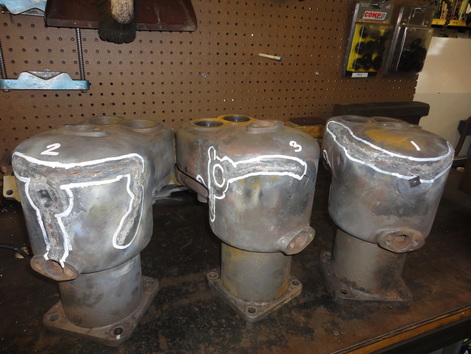
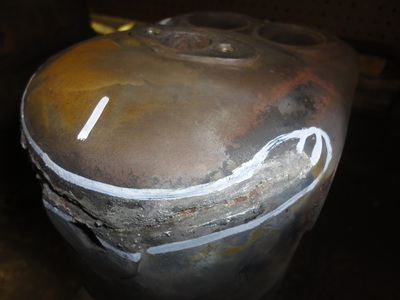
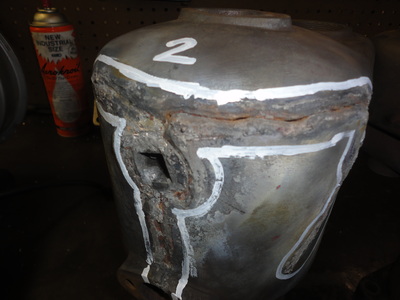
All of the white outline is cracks, the stresses from stick welding actually pushed this casting apart. They kept welding and welding, overlapping he beads and it continued to get worse and worse.
The 1st step is to get it clean and get it shot peened
2nd step is to magnaflux the casting to locate all surface and sub-surface cracks
Next the casting cracks were prepped for what we call lock weld (Lock weld tries to reestablish the holding structure of the casting)
Once that was completed the crack area was prepped, grounded, then brazed welded.
After the braze welding the weld was prepped, the casting was then remagnafluxed. A 3rd procedure was done called pinning.
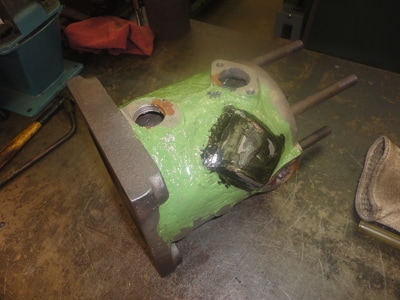
Once the casting was shot peened and pinned, the next step was to apply epoxy seal (Which is the green coating)
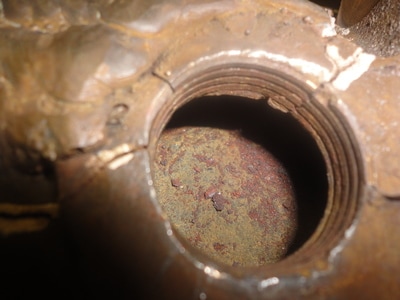
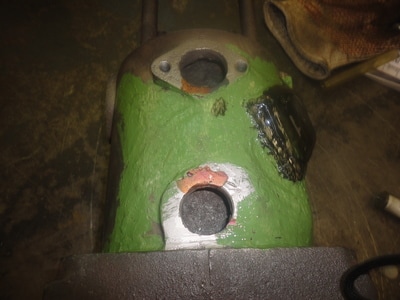
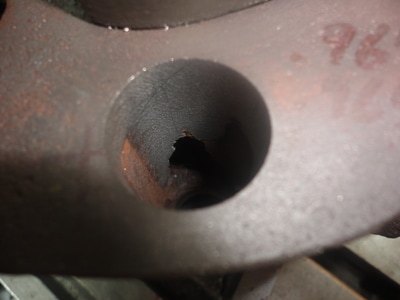
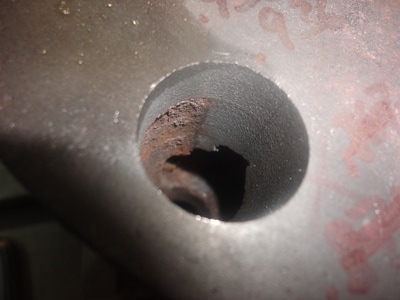
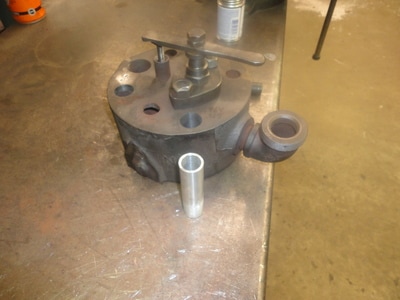
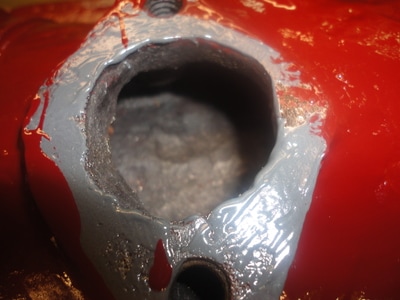
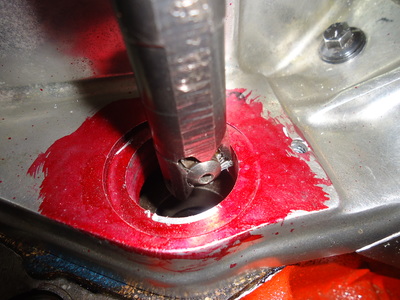
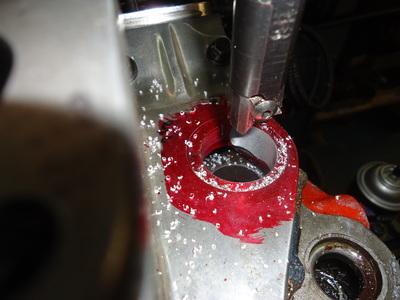
We then discovered that the top half of the casting had rotted thru where the studs come thru.
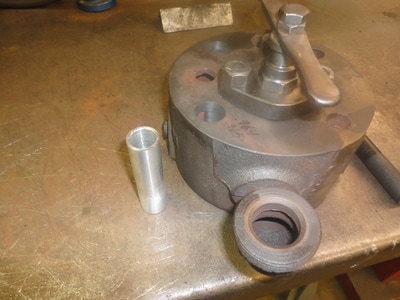
It then had to be bored and a sleeve made. The sleeve then had to be pressed in.
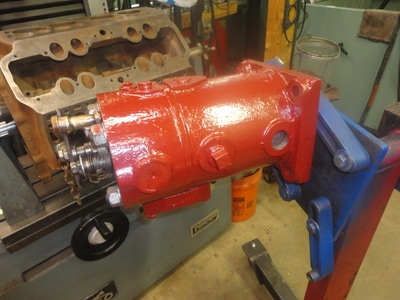
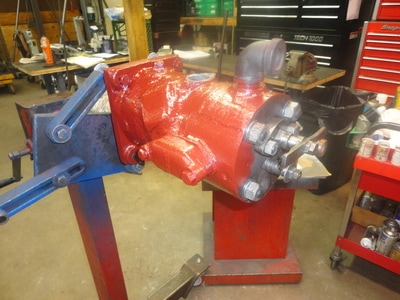
The casting was then completely reassembled and the entire casting was coated with the final exterior seal.
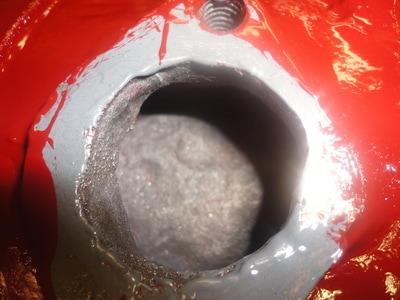
We then did an internal coating to seal the inside
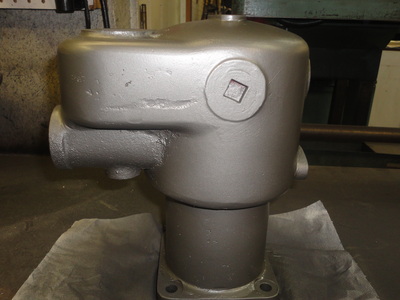
The whole casting then received a final coating of high heat cast iron grey, and oven cured.
We then did an internal coating to seal the inside
The whole casting then received a final coating of high heat cast iron grey, and oven cured.
A successful repair was made. The pictures do not do justice to the amount of damage this casting endured by improper stick welding, which should almost never be attempted on these old castings. Fortunately we were able to repair it and the customer could get his project up and running again.
An interesting Project:
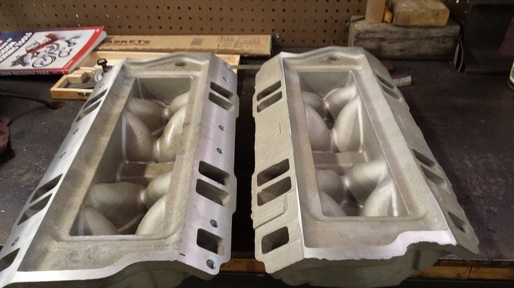
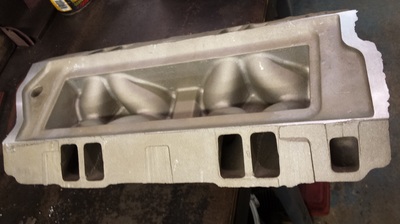
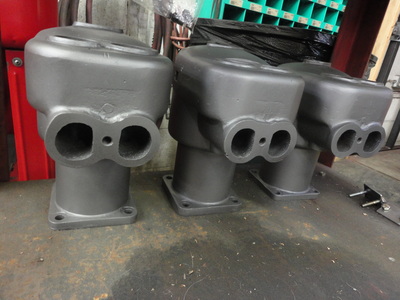
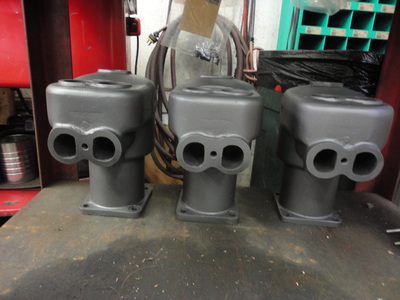
3 Unmachined Intake Manifold Castings
3 Unmachined Intake Manifold Castings
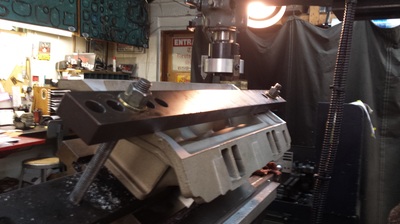
Machining the sides
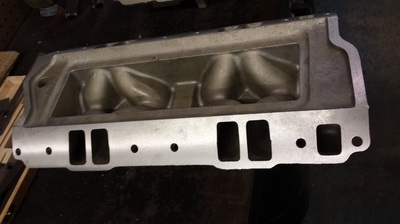
View of unmachined bare casting and view of machined sides
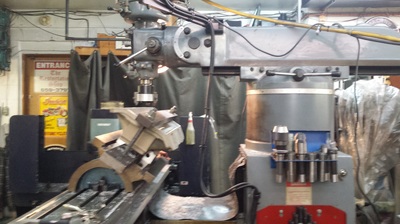
Special made tooling to machine magneto/distributor hole at the required angle
Machined & Fitted
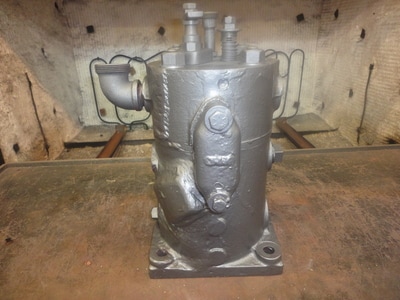
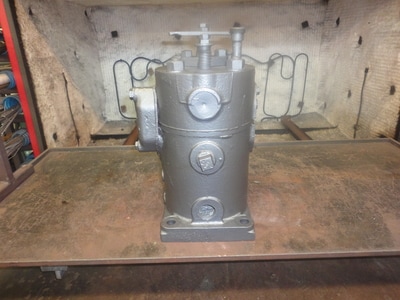
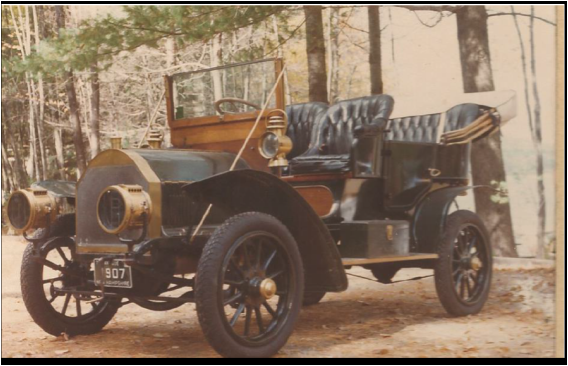
1907 Stevens-Duryea Model R Jug
Actual car belonging to Jack A.
Take a look below to see the process of repairing this precious piece of history,
How we got from this..... to that...
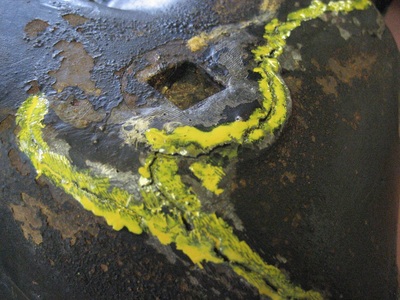
Side of casting outlines in Yellow, completely cracked
Cleaned & shot peened to show more of the crack area
|
Prepped for the repair
|
Part repair using Braze welding
|
Pinned & Braze welded
|
Pinned & Lock Area
Applying the final porosity barrier coating
Heat Curing
Finished Product
We passed the audition and did such a good job our customer trusted us with the other three!
The finished product
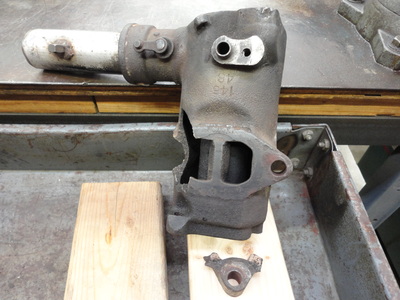
"Heat Riser" for a 1930 Buick
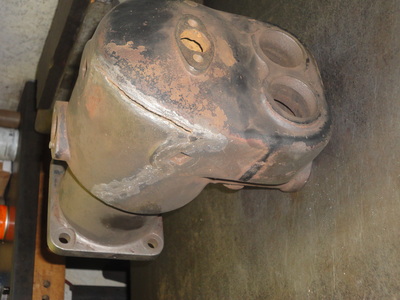
An obsolete broken and unrepairable heat riser for a 1930 Buick.
After putting our skills and know how and pieces back together here is the finished product! Another part saved and a very happy customer!
Customer Testimonial:
"I just wanted to let you know that you did a great job repairing the "heat riser" for my 1930 Buick. I will be glad to recommend you to my friends that need anything like this done. Thanks again." Tommy C
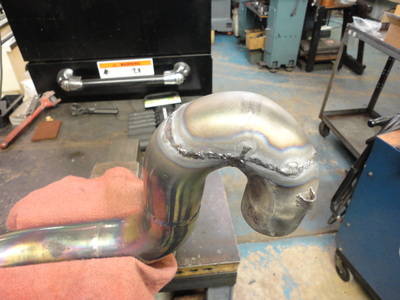
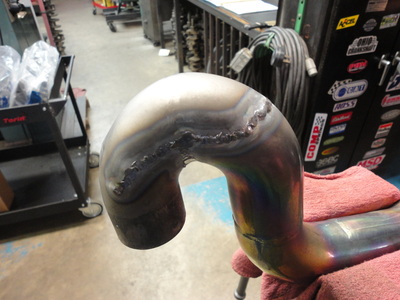
Even though this is not a Casting repair it is an extraordinary repair that only a few shops in the United States can do.
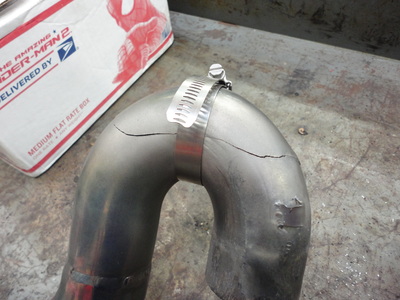
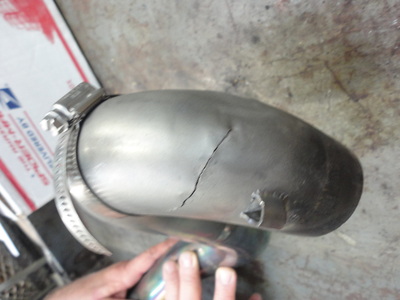
A $3000.00 Titanium exhaust system that is no longer made for a Ducati race bike. What do you do when it blows out the side?
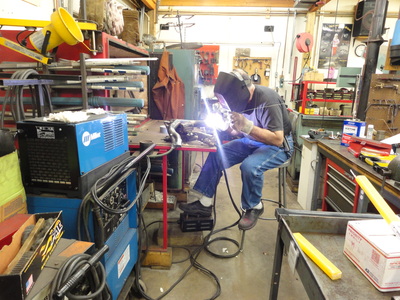
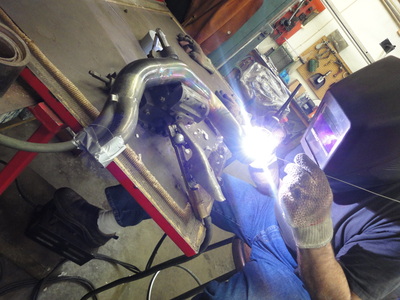
Tig welding Titanium takes a special process, special rod and a lot of technical Knowledge.
Finished weld and another saved Part!!
As the years go by, the “old iron” is getting harder and harder to come by and sometimes you have that perfect numbered engine only to find cracks. Repairing castings takes specialized knowledge as well as equipment and we have both. Whether it’s cast iron or aluminum, brass or bronze, we can repair it!
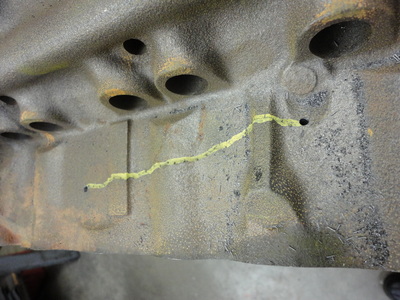
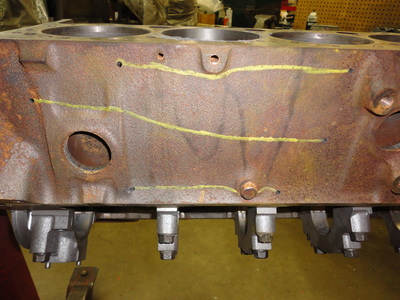
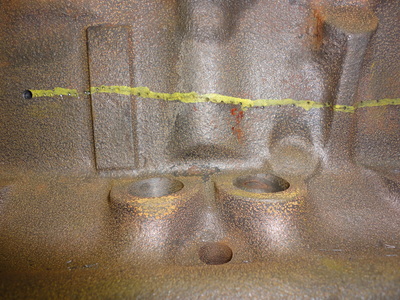
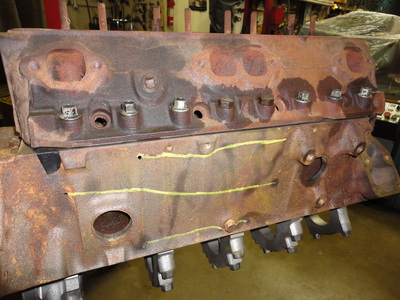
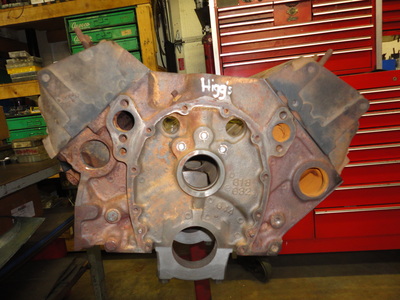
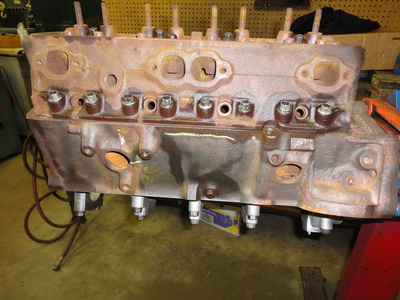
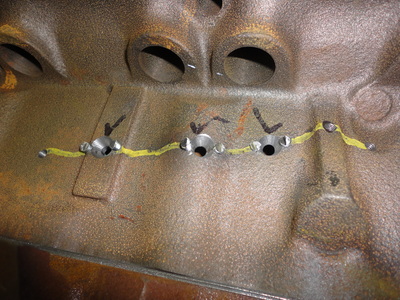
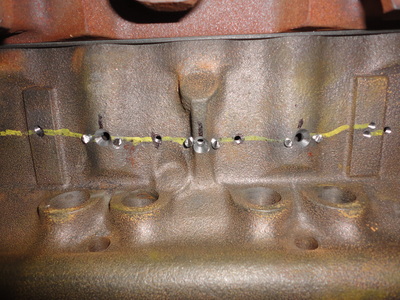
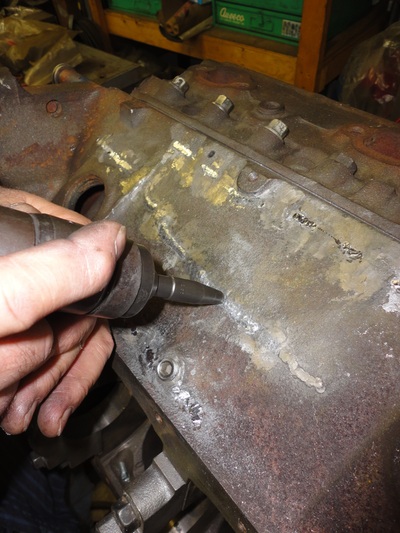
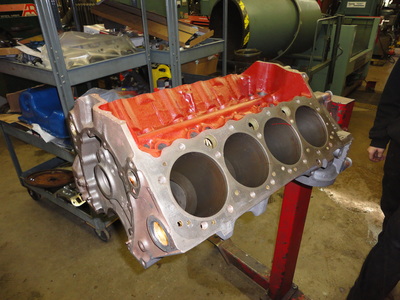
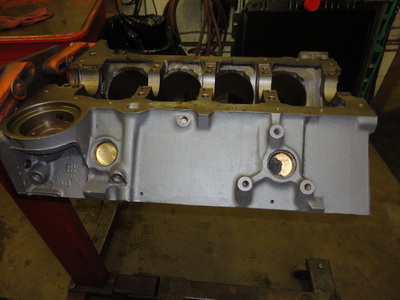
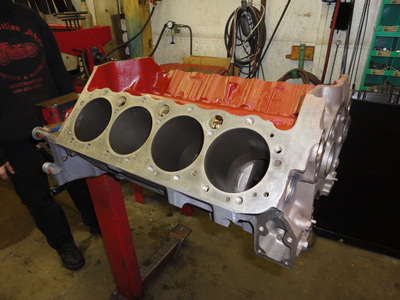
A numbers matching 350 GM block from the 60's neglected, cracked and in need of repair with 42+ inches of crack
(On a Restoration, a numbers matching block makes the difference between 1st place and also ran...)
Cracks in lifter valley and external freeze cracks were magnafluxed, pressure tested to determine the extent of cracks
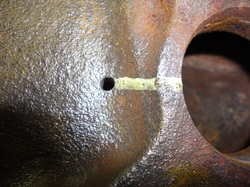
Crack from freeze plug out
Beginning of repair process. Head and main caps are bolted and torqued in place to create and simulate block stress during repair process.
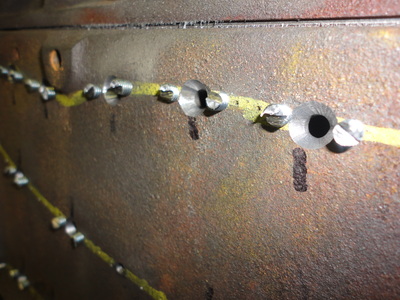
Crack line is drilled and chamfered, initial pin repairs made. Holes that were chamfered are welded in order to lock the crack together, then special taper pins are used in between the weld to seal the crack.
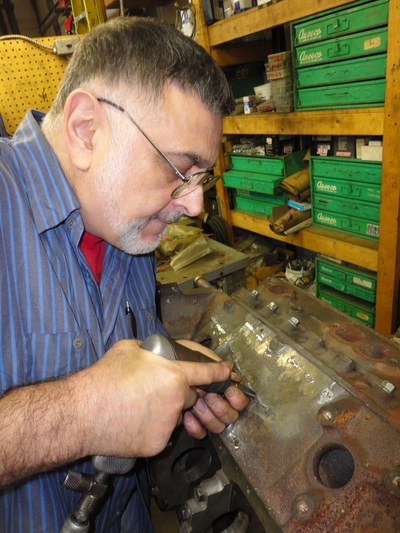
After pins are installed, crack line is peened in order to raise tinsel strength , as well as affect the repair.
Repair Finished!!!
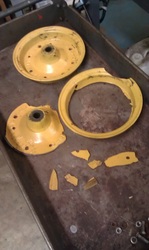
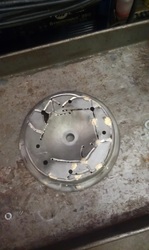
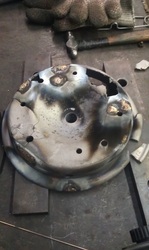
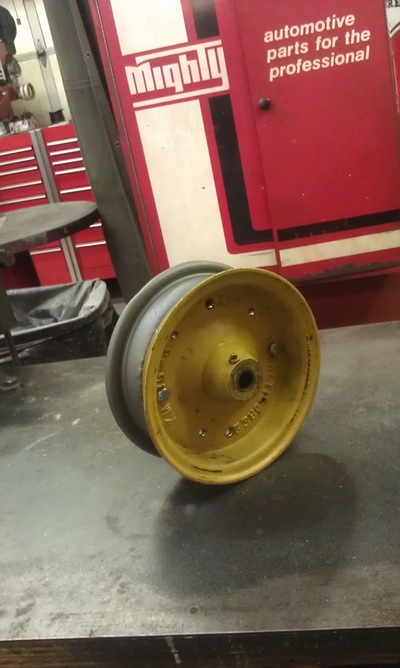
Broken wheel, cracked into little pieces. Putting the puzzle back together. The welding begins. Finished product.
Exhaust manifold broken in 2 pieces. Crack is tack braised. Finished repair.
